The Teletype Model 15 · Volume 5
The Teletype Model 15 — Vol 5: Adjustments, Faults and the People Who Fix Them
The tools, the order of work, the adjustments that matter most with Teletype's own numbers, a fault-by-fault guide, and where to find parts, documents and help: RTTY.COM, GreenKeys, the manual archives and the museums.
5.1 Adjust last
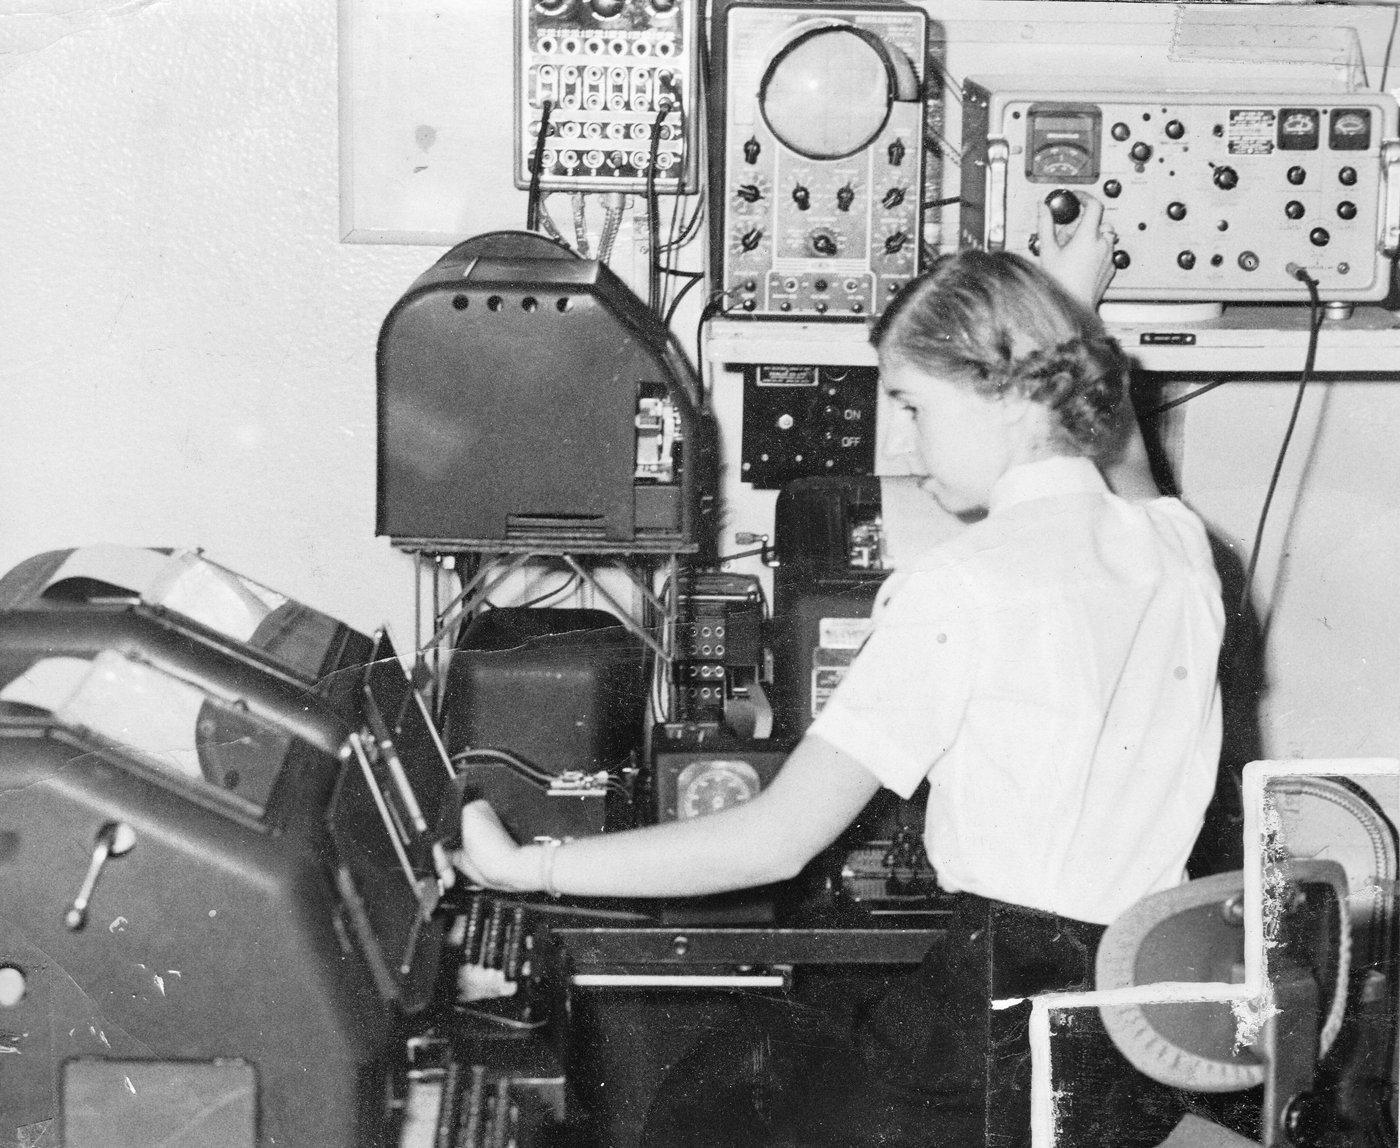
The first rule of Model 15 repair is in Volume 4: clean and lubricate before adjusting anything. Most of what looks like misadjustment in an old machine is dirt and dried oil, and an adjustment made to compensate for a sticky lever has to be undone once the lever is clean. Nagle’s machine printed the wrong characters and failed many functions until it had been bathed and oiled; after that, one out-of-specification clearance and some dirty keyboard contacts were all that remained (Aetheric).
The second rule is in the preface to Teletype’s adjustment bulletin, Bulletin 138: “Before proceeding to adjust any part, read the description of the adjustment carefully. After the adjustment is completed, be sure to tighten any screws or nuts which may have been loosened. If a part that is mounted on shims is to be dismantled, the number of shims used at each of its mounting screws should be noted so that the same shim pile-ups can be replaced” (138B, “General”). Springs that are out of tension and have no adjustment “should be replaced by new springs.” And the cover should be raised or lowered “slowly with a vertical movement” to avoid damaging parts close to it.
This volume goes through the tools, the adjustments that most often matter, the common faults, and the resources and people that keep these machines running.
5.2 The tools
Teletype adjustments are specified as clearances in thousandths of an inch and spring tensions in ounces or pounds, measured with Teletype’s own gauges. Bulletin 138 notes that its spring values “are scale readings which should be obtained when Teletype scales are used as specified.”
- Spring scales. The bulletin calls for an 8-oz, a 32-oz, a 4-lb and a 12-lb scale for different adjustments. Teletype’s scales were push-pull gauges with a hook at one end; modern push-pull force gauges of the same ranges work if read the same way, pulling at right angles to the part.
- Feeler gauges down to 0.002 in, and preferably 0.001 in, in a holder that reaches into the mechanism.
- Spring hooks, both push and pull, for unhooking and rehooking springs without stretching them.
- Bending tools: many adjustments are made by bending a spring or a lever arm, and Teletype supplied bending irons for the purpose.
- Screwdrivers that fit the slots exactly, and offset ones for screws that cannot be reached straight on.
- A speed indicator or tuning fork for a governed motor (Volume 4).
- A test signal: another machine, a terminal unit, a computer interface or an ITTY stream sending RY and the “quick brown fox” (Volume 6).
Teletype published a catalogue of its maintenance tools; the August 1977 edition is in RTTY.COM’s service documents (below), and it shows what each tool looked like and what it was for.
5.3 The order of work
Bulletin 138 is organized in the order the adjustments have to be made, and many of its selector adjustments carry the note “These requirements should be checked with the range finder removed.” The usual sequence for a machine that has just been cleaned and oiled:
- Turn it by hand through several revolutions with the motor off. Everything should move and nothing should bind.
- Base: slip-connection spring pressure and alignment, so that every unit makes contact when seated.
- Motor: speed (governed), mounting plate and gear mesh.
- Selector: magnet, armature, trip-off, swords, then the range finder replaced and a range taken.
- Printing: printing bail, pull bars, type-bar alignment.
- Functions: carriage return, line feed, shift, bell, motor stop.
- Keyboard: trip-off, contacts, clutch.
- Take the range again. Write it down.
5.4 The adjustments that matter most
The values below are from Bulletin 138, issue 5 (October 1944), the issue staged for the Library; later issues revise some of them, so the bulletin for the machine’s own era is the authority.
Orientation (the range). Send RY continuously. Loosen the index-arm thumb screw on the range finder and move the arm toward 0 until errors appear, then back until they stop, with “at least 72 characters” received without error. Note that point, find the other limit the same way from the top of the scale, and “set the index arm of the range scale midway between these two points.” If a source of biased test signals is available, set it at the best point for bias instead (138B, “To measure receiving range”). Restoring a Teletype, Vol 2, explains what the width of the range says about the machine.
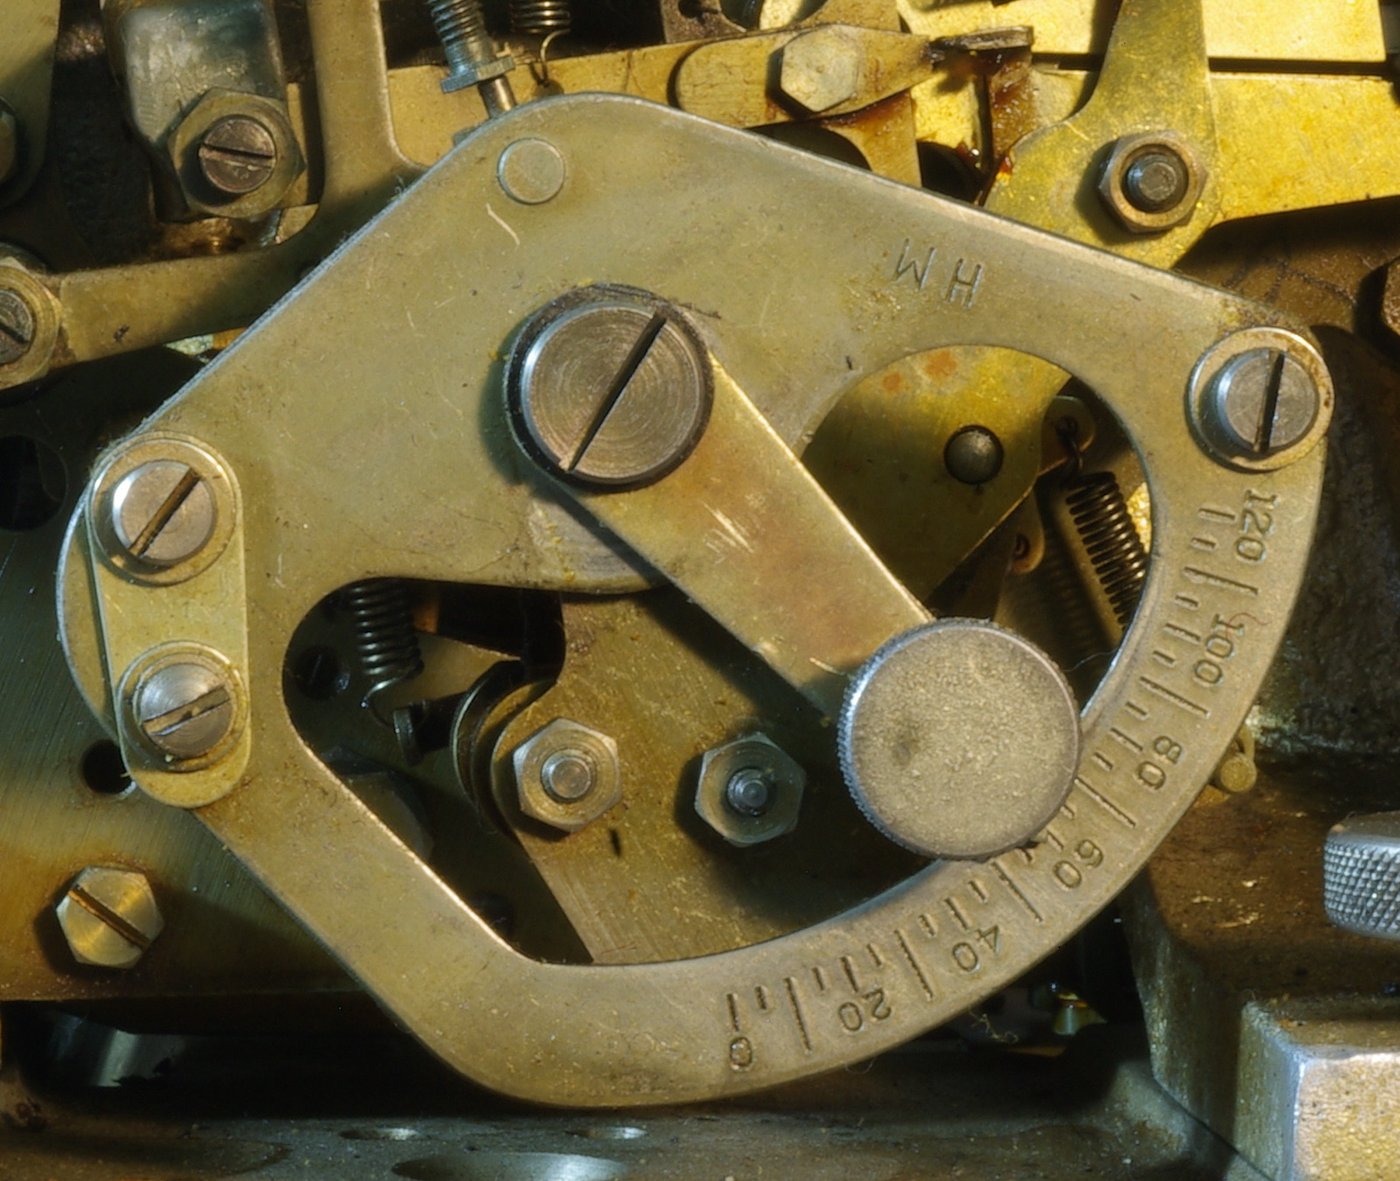
Selector armature spring (pulling-magnet selector). Before taking a range, set the armature spring to “6 to 6-3/8 ozs.” For a machine wired directly into a line carrying biased signals, the bulletin adds a second range: turn the spring adjusting screw each way until errors appear, count the turns, and set it in the middle.
Holding-magnet selector. The armature lever spring should take 17 to 19 oz, “except when coils are connected in parallel without a 1000 ohm shunt,” when it should be 13 to 15 oz. The magnet’s pull is checked with 0.020 A flowing through the coils in series, shunted by 5000 ohms: it should take “at least 3-1/2 lbs” at right angles to the armature to pull it off the cores. The magnet bracket is set so that there is 0.002 to 0.007 in between each core and the armature’s anti-freeze strip with the coils energized; the strip stops residual magnetism from holding the armature shut (138B, holding-magnet selector adjustments).
Trip-off. On the pulling-magnet selector, the trip-off eccentric screw is set for “some clearance, not more than .002"" between the stop lever and the trip latch, with at least 0.002 in end play in the trip latch plunger. Too much clearance and the selector starts late; none, and it may not latch.
The selector lever and cams. Nagle found his selector magnet lever touching a cam; the bulletin’s clearance, as he quotes it, is “0.001” ± 0.0005” (Aetheric). A part that touches when it should clear causes intermittent errors that come and go with temperature and oil.
Printing bail and pull bars. With the printing bail fully back, the pull bars should clear the code bars by 0.010 to 0.050 in, checked at both ends of the carriage’s travel. Too little clearance and the code bars cannot move freely; too much and the selected pull bar may not catch.
Type alignment. Two neat tests from the bulletin. For the letters stop: with the platen down and the N type bar held lightly against it, the face of the N should follow the platen’s curve; print it through carbon paper and the impression “should be of uniform shade,” and raise or lower the unshift stop screw if it is light at the bottom or the top. For the figures stop: print W in letters case, shift, and print 2 on top of it; the 2 should be “in direct alignment” with the W, adjusted by the shift stop screw.
Clutches. The main-shaft jaw clutch spring should take 22 to 26 oz to separate the clutch teeth; the bail cam unit’s friction clutch 20 to 24 oz on a 32-oz scale to turn the cam backwards; the carriage-return clutch spring 1½ to 2½ lb. The carriage-return dashpot vent screw is set so that the carriage returns “without bounce and with minimum shock.”
Keyboard. The trip-off pawl spring should take 3½ to 4½ oz; the transmitting cam cylinder should have no more than 0.002 in end play. Dirty transmitting contacts are the commonest keyboard fault: Nagle’s keyboard dropped one bit until its contacts were burnished.
Base and slip connections. Each motor-unit slip connection spring should take 2 to 4 lb to break contact, and the line and keyboard jack springs 1 to 2 lb. Weak slip connections cause faults that come and go when the machine is bumped.
Governor. On governed motors, at least 0.006 in clearance between the speed adjusting lever’s wearing strip and the speed adjusting wheel, set with shims on the armature shaft. The governor contacts arc in normal service and need periodic cleaning and dressing; Inside the Teletype Mechanism explains why a governor that will not hold speed is usually contacts, spring or resistor, not the motor.
5.5 Faults and their usual causes
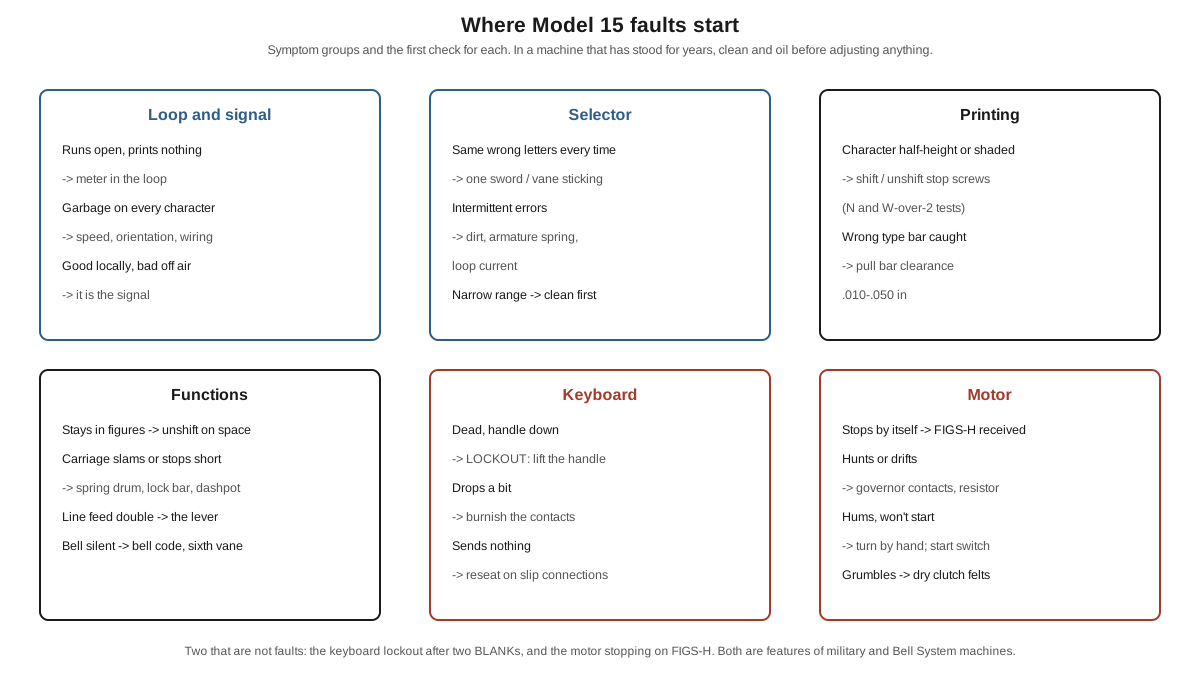
Table 1 — Faults and their usual causes
| Symptom | Usual cause | First check |
|---|---|---|
| Machine cycles continuously, printing nothing (“running open”) | No loop current: open line, open keyboard contacts, wrong terminals | Meter in the loop (Volume 6) |
| Prints garbage, every character wrong | Speed wrong; orientation far off; loop polarity or relay wiring wrong | Speed; take a range |
| One bit always wrong (the same wrong letters each time) | One sword, T-lever or vane sticking; one keyboard contact dirty | Clean and oil the selector; burnish contacts |
| Intermittent errors, narrow range | Dirty selector; weak loop current; wrong armature spring; marginal signal | Range on a known-good local loop |
| Stays in figures after noise | Unshift on space switched off | The unshift-on-space cutout lever |
| Won’t shift, or prints figures half-height | Shift push bar sticking; shift detent; stop screws | Clean; shift stop and unshift stop tests |
| Carriage won’t return, returns partway or slams | Carriage-return spring drum, lock bar latch, dashpot | Return by hand; dashpot vent screw |
| Line feed fails or feeds double | Line feed pawl or push bar sticking; single-double lever | The lever position first |
| Ribbon doesn’t advance or reverse | Feed pawl, reverse arms, missing eyelets | Ribbon eyelets |
| Bell never rings | Sixth vane; bell function lever; bell on a different code | The type arrangement sheet |
| Motor stops on its own | FIGS-H received (motor-stop function working); motor control unit timed out | Open the line briefly to restart |
| Keyboard dead, handle down | Keyboard lockout after two BLANKs | Lift the sending-receiving handle |
| Keyboard sends nothing | Keyboard not seated on its slip connections; clutch; contacts | Reseat; check contacts |
| Motor hunts or speed drifts | Governor contacts pitted; spring; resistor open | Clean contacts; check resistor |
| Motor hums but won’t start (synchronous) | Starting switch, capacitor, or a jammed mechanism | Turn by hand first |
| Machine slows, grumbles or sounds rough | Dry friction-clutch felts; varnished lubricant; worn gear mesh | Volume 4 |
Two entries are worth emphasizing because they are not faults at all. A Model 15 whose keyboard suddenly goes dead with its sending-receiving handle down has locked itself out, by design, after receiving two BLANK characters, and the handle has to be lifted by hand (Volume 2). A machine whose motor stops on its own may simply have received FIGS-H, which is the motor-stop code; a computer interface that sends FIGS-H as # will switch the far machine off. Both have puzzled owners of machines from a military or Bell System background.
5.6 Parts
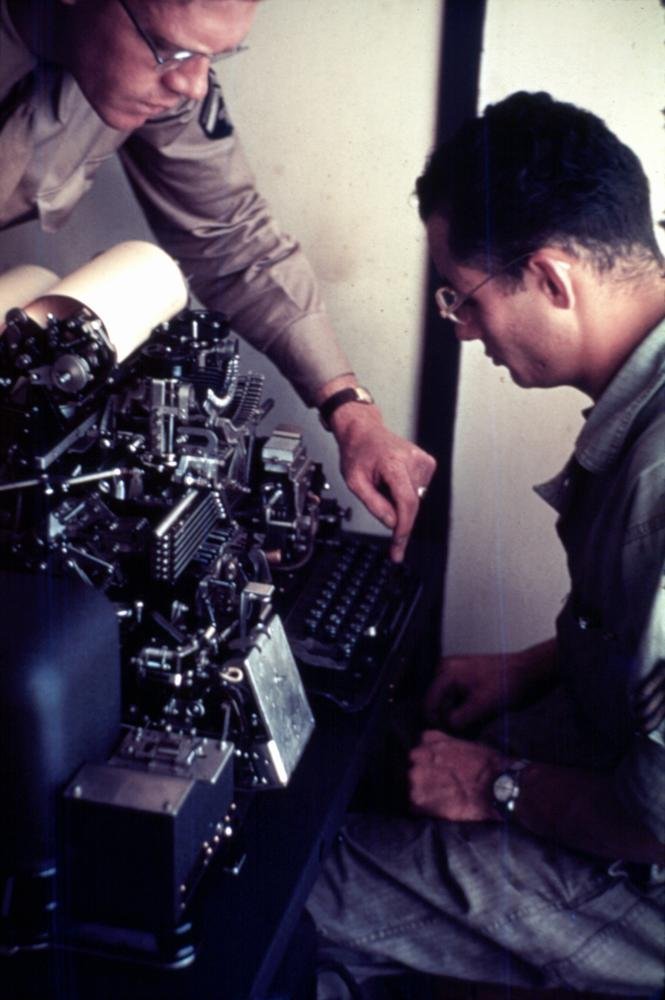
New Model 15 parts have not been made for decades. Sources, roughly in order of usefulness:
- Parts machines. A second Model 15, bought for its parts, is the most reliable source of springs, levers and type bars. This is one reason I am looking for a pair.
- The community. Greenkeys members and RTTY.COM’s network (below) trade parts, and some members make reproduction parts. CuriousMarc’s Model 19 restoration got parts and advice from Paul Cembera, “Mr. RTTY” (CuriousMarc).
- Auction sites and hamfests, for keyboards, typing units, motors, covers, gears and manuals sold separately.
- Replacement work. Platen re-covering by a typewriter-roller shop, springs wound to the original rate, and parts made from scratch: Making the Parts That No Longer Exist covers all three.
- Teletype’s parts bulletins (for the Model 15, Bulletin 1037B and its predecessors, listed on navy-radio.com) give the part number, name and drawing of every part, which is essential when asking for one.
5.7 RTTY.COM: the archive
The single most useful website for a Model 15 owner is RTTY.COM, “The Radio Teletype Reference & Archive,” at rtty.com, which now redirects to rtty.internet-tty.net. It is a non-commercial archive of radio teletype and Baudot teletype history, art, equipment and documentation, established in 1998, which describes itself as “the internet’s oldest RTTY resource,” and carries no advertising or tracking. It is hosted through SDF.org.
Who keeps it. RTTY.COM was founded by George Hutchison, W7TTY (now a Silent Key). Bill Bytheway, K7TTY, wrote its original software; Tom Tillson, WB2TTY, handles content and operations; and Paul Heller, W2TTY, of Arvada, Colorado, is the current owner and maintainer, running its infrastructure and the ITTY streams (RTTY.COM). Hutchison and Bytheway are the names on the Model 15 notes this dive quotes throughout.
What is there for a Model 15 owner:
- The Model 15 page in the equipment section (rtty.com, Teletype equipment), with the RTTY Inc. notes for amateur owners: wiring the selector for 30 or 60 mA, the 60 wpm gears, unshift on space, the range-finder door and the terminal connections (rtty.com, “Model 15 Teletype”). The same section covers the Model 14 reperforator, the Model 19, the Model 28 and 32, and tape equipment and transmitter-distributors.
- Service and documentation (equipment-service), under the heading Kretzman Technical Library, named for Byron W. Kretzman, W2JTP, author of The New RTTY Handbook and one of the first writers on amateur RTTY. Its centrepiece is the Bell System Critical Adjustments Manual, BSP 570-001-901, 102 pages in seven sections covering “the principal Teletype models in Bell System service” (the Models 14, 15, 28 and 33), whose Section 2 is “Model 15 Typing Unit, Keyboard & Keyboard Perforator-Transmitter.” It is the short list of the adjustments that actually cause trouble, a useful complement to Bulletin 138’s full list. The same page has a Western Union field technical service manual (Models 28 and 35), Teletype’s maintenance tools catalogue (August 1977) and The Stunt Box Book for the Model 28.
- Terminal units (equipment-tu) for the radio side, and Irvin Hoff K8DKG’s Introduction to Amateur Radio Teletype; Hoff designed the ST-6 (Volume 6).
- History, including The Teletype Story as a PDF, the RTTY Art gallery of pictures typed in characters, Telex, software resources, videos, and a Community page that points to GreenKeys.
- ITTY, the live Baudot news streams at 60, 66 and 100 wpm, the best test signal a restorer has and the way to make a restored machine print the news again (Volume 6).
5.8 GreenKeys and the rest of the community
GreenKeys is the mailing list for “older radio teletype gear”: mechanical teleprinters, terminal units, paper tape, parts, maintenance, restoration, buying and selling, and history. Contest operating is explicitly off-topic. New members are approved by a moderator, and there is a public archive of postings going back many years (GreenKeys list information). Searching its archive before asking is good manners and usually turns up the answer; Doug Jones’s lubricant research (Volume 4) and the Western Union cabinet machine of Volume 3 both passed through it.
Manual archives. navy-radio.com keeps the largest index of Teletype bulletins, specifications, Bell System Practices and military manuals on the web (Teletype manuals index; specifications index; wiring diagrams), along with photographs of Navy teletype installations. Most of the documents staged for the Library with this dive came from it.
Video. CuriousMarc’s restoration of a Model 15, a Model 19 set, a Model 14 transmitter-distributor and a reperforator runs to sixteen episodes, with the documentation he used (CuriousMarc); Usagi Electric restored a Model 15 and a Model 14 in 2024. Watching a Model 15 being taken apart is the fastest way to learn where things are.
Museums. Model 15s are on display at the Computer History Museum (a TG-7-B among them), the National Electronics Museum near Baltimore, and Ingenium in Ottawa, whose catalogue photographs the units separately.
5.9 When to ask, and how
The restorers in this dive agree that the community is generous and that it helps to ask a good question. A message to GreenKeys that gets a useful answer usually includes:
- the unit codes (BP, BK, BB, MU) and selector type;
- what has been done already: cleaned, oiled, range taken;
- the symptom precisely, ideally with a sample of the garbled copy (which letters come out as which tells an experienced reader which bit is wrong);
- the range on a local loop.
Restoring a Teletype ends with a restorer whose single broken part took weeks to find, and who thought the hunt worthwhile because it made him understand the machine. That is the usual experience. Everything in a Model 15 is visible; it just has to be understood, and the bulletins, RTTY.COM and GreenKeys are where that understanding has been collected.
5.9.1 Sources (Vol 5)
- 🔴 Adjustment values and procedures — Teletype Corporation, Bulletin 138B, Adjustments, Type Bar Page Printer (Model 15), issue 5 (October 1944): general instructions; receiving range; holding- and pulling-magnet selector adjustments; printing bail; unshift and shift stop alignment tests; clutches, dashpot and keyboard; base slip connections and jacks; governor shims (bulletin pp. 2–58). ⟨staged for the Library⟩
- Keyboard lockout, motor stop, functions — BSP P70.013 (1951). https://navy-radio.com/manuals/tty/p70.013-iss1-5110.pdf
- A refurbishment: dirty contacts dropping a bit, the selector-lever clearance, run-in — John Nagle, Aetheric. https://www.aetherltd.animats.com/refurbishing15.html
- RTTY.COM: description, founding (1998), people (W7TTY, K7TTY, WB2TTY, W2TTY), hosting and sections — https://rtty.internet-tty.net/ (read 3 November 2026); service documents and the Critical Adjustments Manual (BSP 570-001-901) — https://rtty.internet-tty.net/equipment-service.html; Model 15 notes — https://rtty.com/development/teletype/model-15/index.html; equipment index — https://rtty.com/equipment-teletype.html
- GreenKeys — list information page, mailman.qth.net. https://mailman.qth.net/mailman/listinfo/greenkeys
- Teletype manuals, specifications and wiring diagrams — navy-radio.com indexes (links in the text).
- CuriousMarc’s Model 14/15/19 series and Mr. RTTY — https://www.curiousmarc.com/computing/teletype-model-19; Usagi Electric’s Model 15 and 14 restoration — as discussed on the Retro Computing Forum, September 2024. https://retrocomputingforum.com/t/teletypes-model-15-model-14/4413
- Cross-links: Restoring a Teletype (taking a range; patience); Making the Parts That No Longer Exist; Inside the Teletype Mechanism (the governor); Volumes 2, 4 and 6 of this dive.