Modern Digital and the Raspberry Pi · Volume 2
Modern Digital & the Raspberry Pi — Vol 2: The $35 Station and the Homebrew Loop
A thirty-five-dollar computer the size of a playing card now does everything the wire room did — and you can still build the whole thing yourself. The end of the story that started with a hand on a brass key.
2.1 A whole station on a playing card
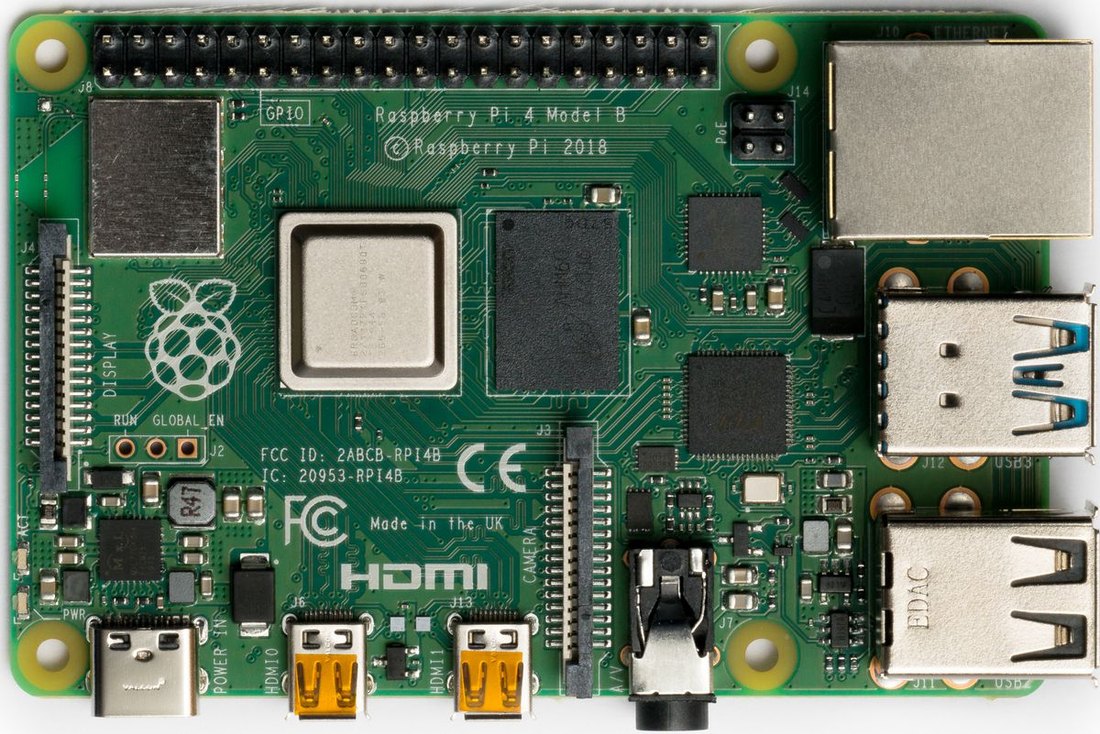
The Raspberry Pi — a single-board Linux computer that launched in 2012 at about $35 — is where this entire story lands. Running free software, a Pi becomes a complete amateur digital station:
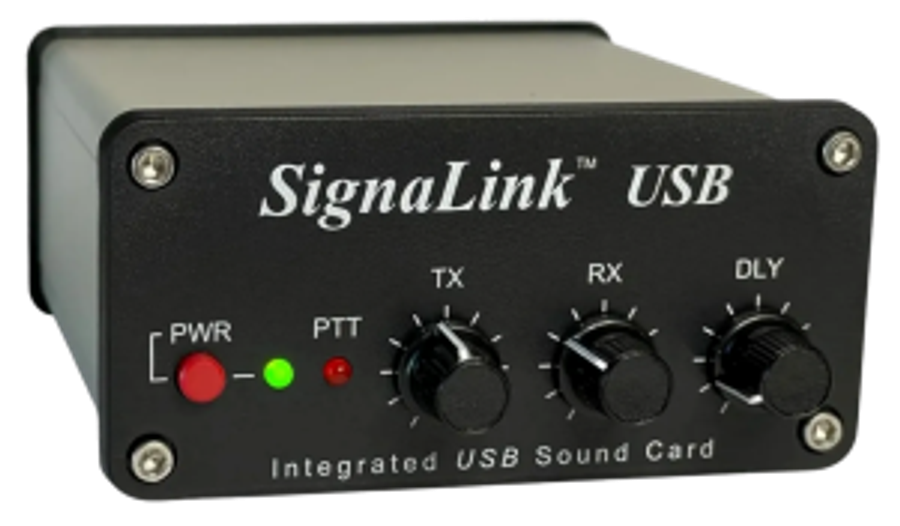
- fldigi and WSJT-X run on the Pi, so a Pi plus a USB interface is a full RTTY / PSK31 / FT8 station — often headless (no monitor), tucked behind the radio, running unattended, decoding the band and logging contacts on its own.
- direwolf (John Langner, WB2OSZ) turns the Pi’s soundcard into a software TNC for packet radio and APRS — the modem that used to be a box is now a background process.
- And because it’s a real Linux computer, the Pi can also be the radio’s brain — driving an SDR, decoding CW, running a whole automated station off a phone charger’s worth of power.
The wire room that filled a corner of my father’s shack — the machines, the tape punch, the terminal unit — now fits on a board you could mail in an envelope.
2.2 Software CW — and why the ear still wins
Software can decode CW, too — fldigi has a Morse modem, and there are countless standalone decoders — and it’s genuinely useful. But here is a truth I love: software is still worse at copying Morse than a trained human being. A machine decoder relies on clean dit/dah timing against a threshold, so it chokes on exactly the things a human handles easily — a swinging bug fist, weak signals buried in QRN, an operator speeding up and slowing down. Feed it perfect machine-sent code and it’s flawless; feed it a real person on a real band and the human ear pulls words out of noise that the software never finds. After 180 years, the best Morse decoder ever built is still the one between your ears — which is a fine thing for a hobby to be able to say.
2.3 Build the whole thing yourself
The best part is that none of this is a black box — you can build it. A microcontroller or a Raspberry Pi and a small OLED display make a Morse trainer/decoder that’s a beautiful capstone project: it listens to the audio tone (or the key line), measures each key-down against a dit/dah threshold (about two units), estimates your WPM from the dit length, watches the silences for letter and word gaps, and prints the decoded text on the screen — the exact timing rules from the Code, Timing & Abbreviations dive turned into fifty lines of code (this is the same project featured in Building Your Own Keys).
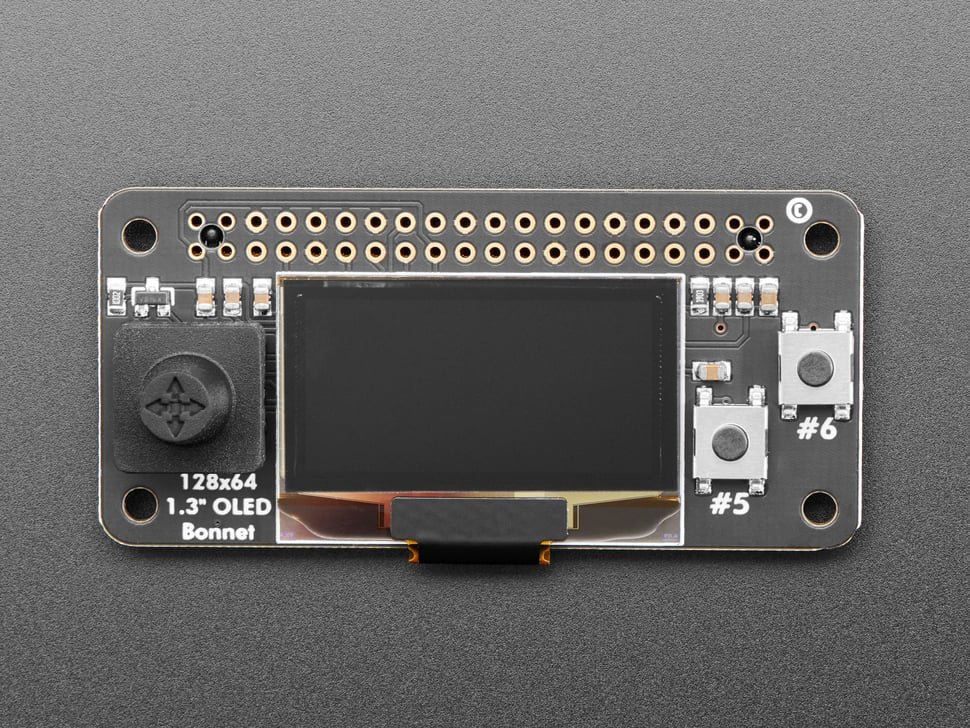
Build one and you close the loop personally: a machine you made yourself, reading back to you the very code that this whole project is about — and showing you exactly where your fist is sloppy so you can fix it. It is the 21st-century echo of that OLED-less, iron teletype decoding tape in 1970, and it costs about what a pizza does.
2.4 The whole arc, in one line
Stand back from all fifteen dives and there is really only one idea here, handed step by step from the hand to the machine (Figure 2).
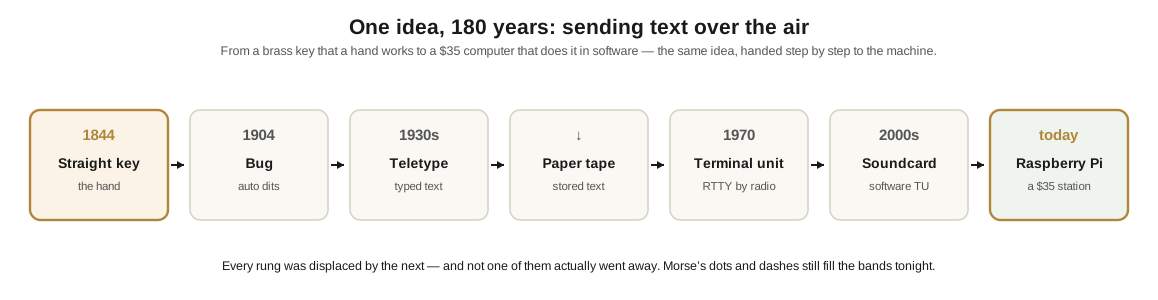
Two honest notes on that line. First, 1844 is the code’s birthday, not radio’s — Morse’s key ran on a wire; wireless Morse came fifty years later with Marconi. Second, the key and the bug are the human-keying branch — the operator sending by hand, faster and faster — while the teletype, tape, terminal unit, soundcard, and Pi are the machine branch, taking over the sending entirely. They braid together, but they’re two strands of one rope: how do you send text over the air, and how much of it do you hand to the machine?
2.5 Back to the shack
I started this whole project in my father’s ham shack in the late 1960s, a boy listening to dots and dashes come out of a speaker and watching the teletypes clatter and spool their pink tape. I couldn’t read any of it then. Now I can read all of it — the Morse by ear, the American landline code, the ITA2 holes in a paper tape, the two tones of an RTTY signal, the FT8 decodes scrolling up a screen — and writing these fifteen dives has been, more than anything, a way of finally understanding the room I grew up in.
The brass key I love, the chrome UFO, the clattering Model 15, the pink tape, the green crossed bananas, the little Raspberry Pi humming behind the radio: they are all the same wonderful idea, 180 years deep, of turning thought into a pattern of ons and offs and sending it out over the air to another human being. Morse and Vail would recognize every bit of it. And on a quiet night, when the band is barely open and nothing else will get through, the mode that still works — the one filling the noise floor with dots and dashes — is the one that started it all. 73 de N0SWN.
2.5.1 Sources (Vol 2)
- Raspberry Pi (2012, ~$35, ARM Linux) running fldigi / WSJT-X: Wikipedia “Raspberry Pi,” “Fldigi,” WSJT-X project. direwolf (software TNC for packet/APRS; WB2OSZ): github.com/wb2osz/direwolf. https://en.wikipedia.org/wiki/Raspberry_Pi
- Software CW decoding and its weakness on hand-sent/weak signals: fldigi CW modem docs; DIY Arduino Morse-decoder write-ups (km1ndy, Arduino Project Hub). The DIY OLED CW trainer/decoder (dit/dah threshold, WPM estimate) and the Adafruit 128×64 OLED Bonnet (#3531, SSD1306): adafruit.com; cross-referenced to Building Your Own Keys and Morse & CW → The Code, Timing & Abbreviations.
- The through-line (Morse’s key 1844 → bug → keyer → teletype → tape → TU → soundcard → Pi): a narrative arc; each node cross-referenced to its own dive. Honesty notes: 1844 = landline (radio Morse ~1895+, Marconi); key/bug = the human-keying branch alongside the machine branch.