Building Your Own Keys · Volume 2
Building Your Own Keys — Vol 2: From a Hex Paddle to a Talking OLED
Homebrew paddles, pairing a hand-made key with a keyer chip or a microcontroller, and building the practice gear — including a little display that listens to Morse and reads it back to you.
2.1 Building a paddle is harder — and the fun kind of harder
A straight key is a switch; a paddle is two switches that must return crisply to center and never touch each other by accident, which makes it a genuinely satisfying little precision-mechanism project. The homebrew world has produced some wonderfully clever solutions.
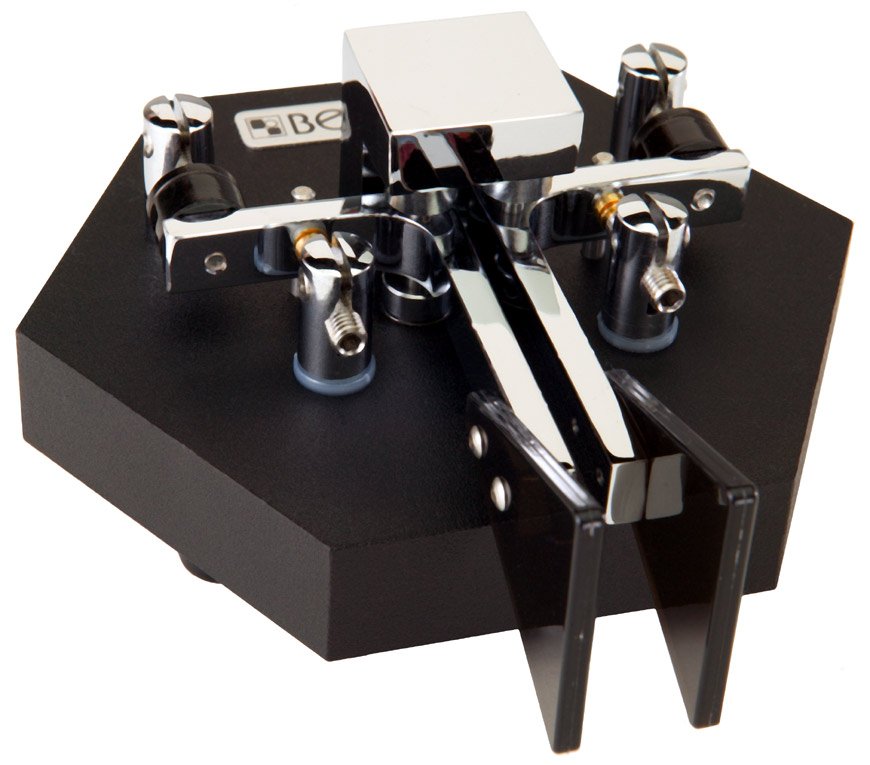
The “hex paddle” above is a community classic: it uses hex bar stock and hex-head bolts as the structure, so it can be built with hand tools and a drill instead of a lathe — the hardware is the frame. At the other end of the effort scale, a machined aluminum block gives you a solid, dead-stable dual-lever paddle if you have (or can borrow) a mill.
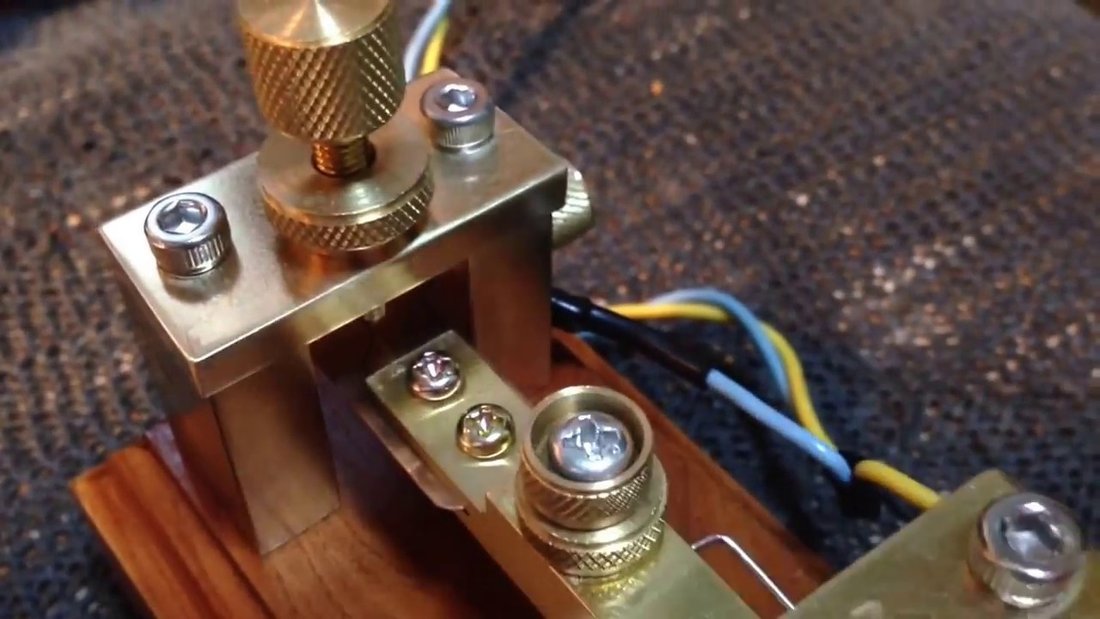
Whichever route, the mechanical goals are the same as any paddle (see Paddles & Electronic Keyers): two independent levers, each with an adjustable gap and return (spring or magnet), returning to a clean center, wired to a TRS plug (tip = dit, ring = dah, sleeve = common). Ball bearings or hardened pivot points make it smooth; magnets for the return make it lovely.
2.2 The paddle needs a brain
Remember the key fact from the paddles dive: a paddle makes no timing of its own. So a homebrew paddle needs a keyer behind it, and building that is half the fun:
- A keyer chip — the classic K1EL keyer ICs (and the old Curtis chips) turn a paddle into a full iambic keyer with a few passives and a speed pot; drop one in a box and you’re done.
- A microcontroller — an Arduino, a PIC, or a Raspberry Pi Pico makes a superb keyer with nothing but code: read the two paddle pins, time out dits (1 unit) and dahs (3 units) at the set speed, add dot/dash memory and iambic logic, and key a transistor or a small relay. Open-source keyer sketches abound, and rolling your own is the best way to understand everything the UFO and the Katsumi do (over in the autokeyer dive).
- The rig’s built-in keyer — most modern transceivers have a keyer built in, so a bare homebrew paddle plugged straight into the rig works immediately.
2.3 Building the practice gear too
The homebrew spirit doesn’t stop at the key — you can build the whole learning rig. This is where a microcontroller and a cheap OLED display turn into a Morse tutor.
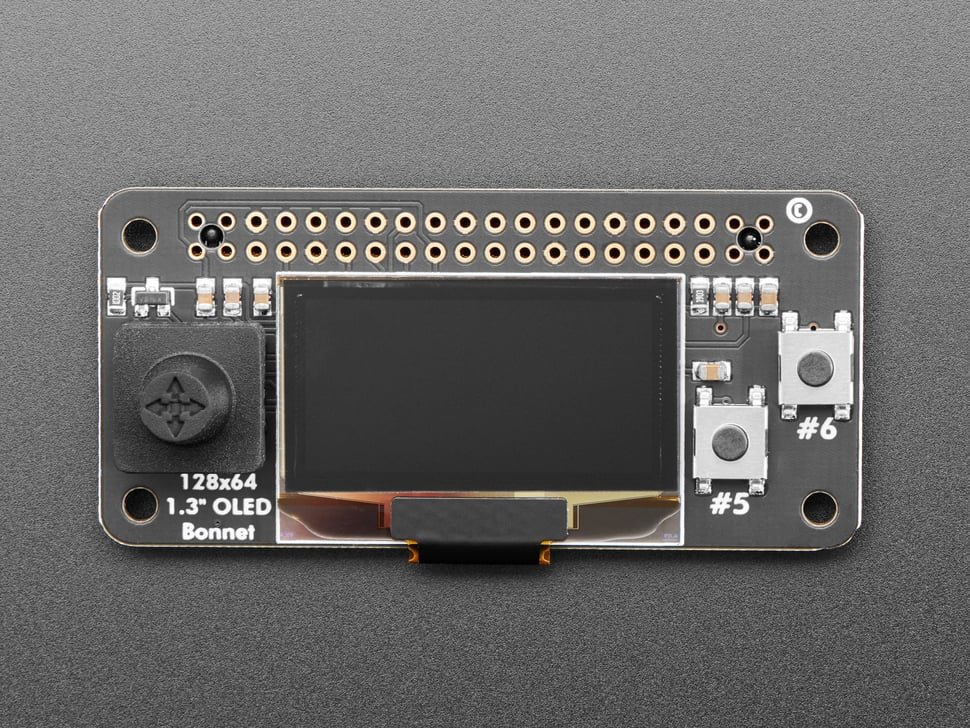
The project I keep coming back to is a CW decoder/trainer: a microcontroller listens to Morse — either the key line directly, or the audio tone through a simple envelope detector — measures the timing, and prints the decoded letters on the OLED. The decoding logic is beautifully simple and is the whole timing lesson from the Code, Timing & Abbreviations dive turned into code:
- Measure each key-down time. Short = a dit, long = a dah. The threshold sits at roughly 2 units (halfway between a 1-unit dit and a 3-unit dah), and the trainer estimates the current WPM from the dit length so it adapts to your speed.
- Measure each key-up (silence) time. A ~1-unit gap = still inside a letter; a ~3-unit gap = end of letter (decode what you’ve got); a ~7-unit gap = end of word (print a space).
- Accumulate the dits and dahs into a symbol, then look it up in the Morse table and print the character.
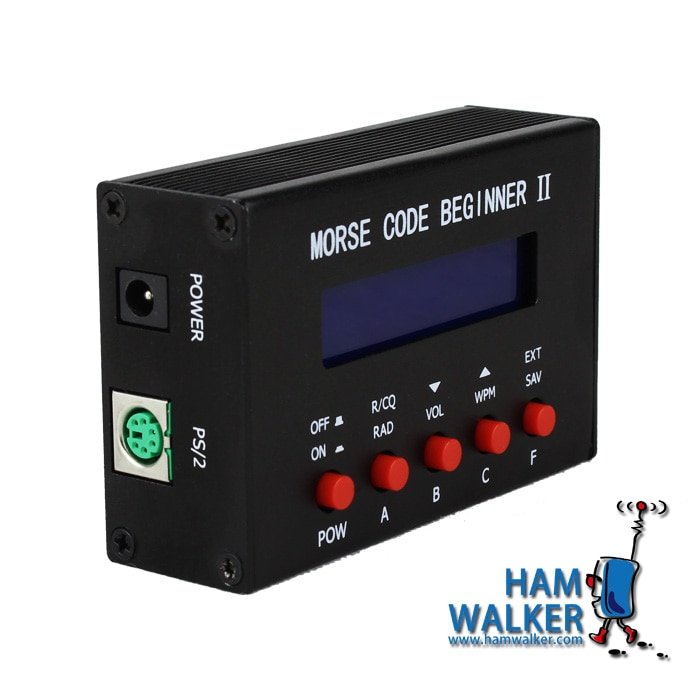
That’s it — the same dit/dah/silence rules that define the code (a dit is the base unit; a dah is three; letters are separated by three units, words by seven) become a fifty-line program. Build it with an Arduino or a Pi and an OLED and you have a machine that reads your fist back to you — the single best practice aid there is, because it shows you exactly where your timing is sloppy.
2.4 The homebrewer’s place in the story
Every key in this sub-project — the straight key, the bug, the paddle, the chrome UFO — was once someone’s build. Horace Martin filed a patent, but he started at a bench with a pendulum and an idea. When you make your own key, you step into that same line: you take the simplest instrument in radio and make it yours, tuned to your hand, wired with your own solder, and (if you build the trainer too) able to teach you the very language it sends. It is the most satisfying $5 project in the hobby, and it closes the loop of the whole Keys & Keyers story — from the factory keys we collect back to the workbench they all came from.
2.4.1 Sources (Vol 2)
- Homebrew paddle designs (hex paddle; machined-aluminum paddles) and keyer options — the QRP/homebrew community; K1EL keyer ICs (hamcrafters2.com) and open-source Arduino/PIC/Pico keyer projects; the Curtis-chip lineage cross-referenced to Keys & Keyers → The Hi-Mound UFO & the Autokeyer Era.
- CW decoder/trainer logic — a standard microcontroller Morse-decoder approach (measure key-down for dit/dah against a ~2-unit threshold; key-up for letter/word gaps; estimate WPM from dit length), matching the timing definitions in Morse & CW → The Code, Timing & Abbreviations. Display: Adafruit 128×64 OLED bonnet. Cross-links: Learning & Operating CW and Teletype, Tape & RTTY → Modern Digital & the Raspberry Pi.